Readings Newsletter
Become a Readings Member to make your shopping experience even easier.
Sign in or sign up for free!
You’re not far away from qualifying for FREE standard shipping within Australia
You’ve qualified for FREE standard shipping within Australia
The cart is loading…


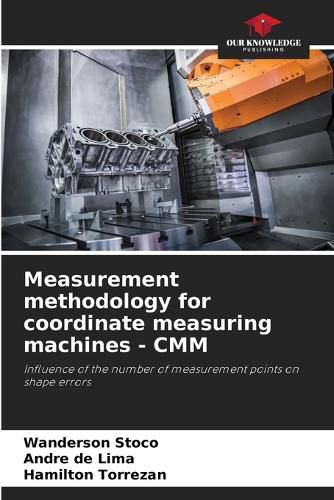
Measuring shape errors on coordinate measuring machines is a process that is widely used nowadays due to the ease and speed with which the results of a given characteristic can be obtained. The aim of this work was to establish a rule for determining the minimum number of points to be touched when measuring the roundness of various parts. For the case study, measurements were taken on a part manufactured exclusively for this work, where the initial objective was achieved through calculations and comparisons. Based on the results of the measurements, a rule was defined which consists of touching 1 point/mm of the calculated perimeter, considering the nominal diameter specified in the drawing. The use of the rule allows for greater confidence in the results obtained, as it establishes a standard for circularity measurements in various diameters and a reduction in measurement costs, as the time spent on this process is considerably reduced (72.9% in the case studied) depending on the number of points chosen by the metrologist.
$9.00 standard shipping within Australia
FREE standard shipping within Australia for orders over $100.00
Express & International shipping calculated at checkout
Measuring shape errors on coordinate measuring machines is a process that is widely used nowadays due to the ease and speed with which the results of a given characteristic can be obtained. The aim of this work was to establish a rule for determining the minimum number of points to be touched when measuring the roundness of various parts. For the case study, measurements were taken on a part manufactured exclusively for this work, where the initial objective was achieved through calculations and comparisons. Based on the results of the measurements, a rule was defined which consists of touching 1 point/mm of the calculated perimeter, considering the nominal diameter specified in the drawing. The use of the rule allows for greater confidence in the results obtained, as it establishes a standard for circularity measurements in various diameters and a reduction in measurement costs, as the time spent on this process is considerably reduced (72.9% in the case studied) depending on the number of points chosen by the metrologist.